

Heritage Crafts for Manor Interiors: A Checklist for Sourcing Lime Plaster, Tapestry, and Joinery
Old houses are exacting critics. A panel of new oak that shrinks away from its frame by February, lime plaster that cures hard and grey against a soft rubble wall, a tapestry pinned flat to a cold north wall — each announces its own mistake without anyone needing to point it out. The remedy is not nostalgia but method: know the building, choose materials that behave as its fabric does, and commission from people who have done this work before. What follows is a working checklist for three crafts asked for most often in manor interiors.
Read the building before you read a catalogue
Start with the room, not the supplier. A conservation-accredited surveyor or historic buildings architect will notice things a general builder will not: shutter rebates, ghost marks where panelling once sat, joist ends that have been sistered twice, a fireplace bricked up in the 1950s. Photograph everything, including the backs of doors and the undersides of window seats.
If the house is listed, works that affect its character — including plaster, panelling and joinery — will usually need consent. Your local conservation officer is a useful early call rather than a last hurdle, and in any part of the UK it is worth taking professional advice before you commit to a scheme. Assemble a small file before you approach a single maker:
- Photographs of the room and close-ups of any surviving detail.
- Mortar and plaster samples lifted from a discreet corner.
- Paint scrapes showing earlier schemes, however faded.
- A rough measured plan and section, with ceiling heights and bay widths.
- Notes on heating, how the room is used, and how often it is occupied.
Lime plaster: specify behaviour, not a brand
Lime is chosen for what it does, not what it looks like on day one. Non-hydraulic lime putty sets slowly by carbonation and stays soft and forgiving; natural hydraulic lime suits damper or more exposed positions. Both need to breathe, and both are ruined by the wrong sand. A sharp, well-graded aggregate matched to what was there originally will do more for the finished surface than any change of binder.
Ask for three coats built up gradually — scratch, float, finish — with hair or fibre added where the substrate demands it, and no attempt to force the set with heaters. Lime wants damp air and time. Before the whole room is done, have a sample panel of a square metre or two applied in situ and left for several weeks; longer is better, and a full season is better still if the programme allows.
Where existing plaster is sound, patch it. Stripping back to brick and starting again is rarely the conservation answer, and new work never quite matches old in tone or texture.
Tapestry: two routes, one set of questions
There are two ways to put a tapestry on a manor wall. The first is auction: rewarding, but only if you commission a condition report first and read it properly. Look for old repairs, water staining, insect damage and, above all, fading — the fading is usually worse at the top, where light has reached it for two centuries.
The second is to commission new work from a studio. Expect the process to take months rather than weeks, and to involve a painted cartoon, yarn dye trials and a woven sample before the full width is warped. Two practical points are often overlooked. Fine detail coarsens in weave, so ask to see the design at finished scale before approval. And decide how the piece will hang before it is made: on a batten, a Velcro-covered board or a roller, with or without a linen lining, since the hanging method changes the required dimensions.
Once hung, keep tapestries out of direct sun, control light with blinds or filters where you can, and have valuable pieces assessed by a textile conservator. If a tapestry is insured for a significant sum, confirm the policy conditions with your insurer and take professional advice on display and rotation.
Joinery: a conversation between oak and air
Well-made joinery is less about ornament than about movement. Air-dried oak is prized not for romance but because it has already done most of its shrinking; it will still move in a centrally heated room, which is why traditional joints — mortise and tenon, draw-bored pegs, housed shoulders — allow the timber somewhere to go. Ask for moisture readings on delivery and for the timber to be acclimatised in the room before cutting. As a general guide, interior joinery should sit close to the moisture content the room will settle at, rather than arriving straight from a cold workshop.
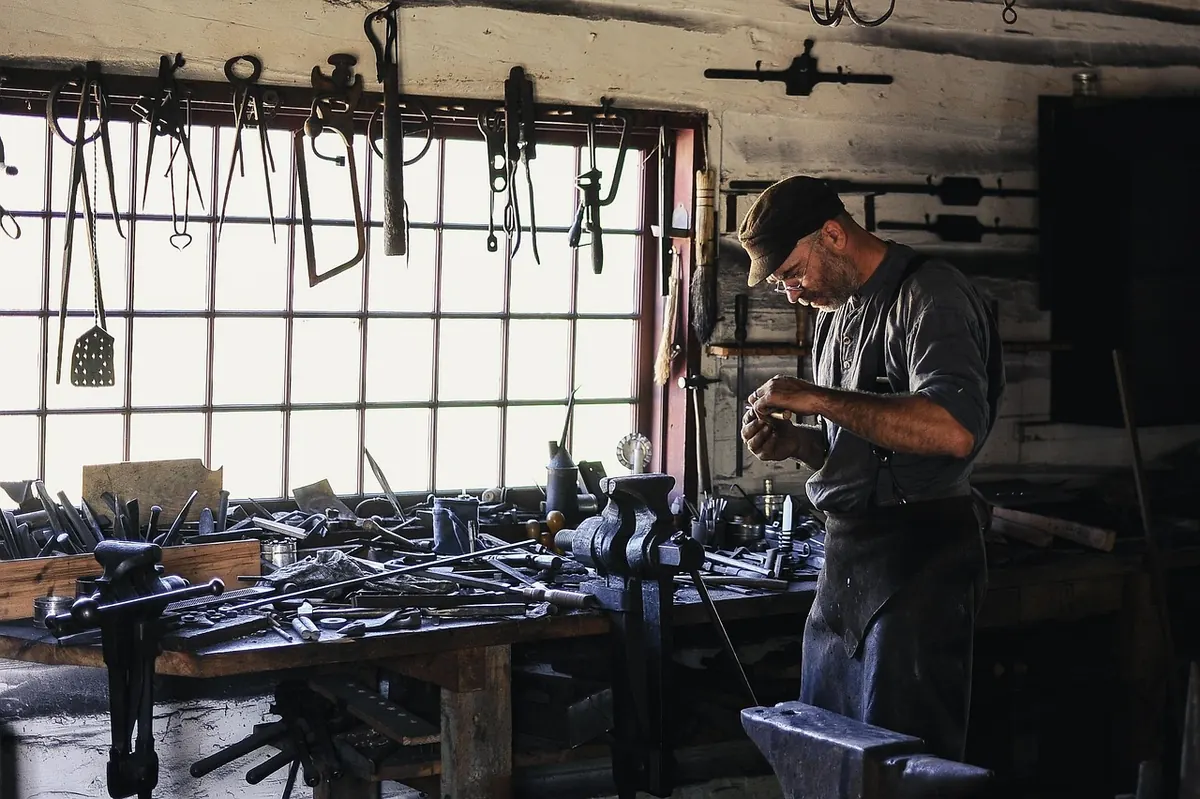
Insist on a full-size setting out of one bay before everything is machined. Mouldings can be run by spindle or by hand, and the difference shows in the shadow line. Finishes should be breathable — wax, oil, or a traditional paint — not a plastic film. Hand-forged hinges and catches from a blacksmith will outlast anything from a catalogue. Good joiners are booked months ahead, so secure the slot while the drawings are still being argued over.
Commissioning terms worth agreeing in writing
- A written brief with drawings, dimensions, programme and stage payments.
- The name of the person who will actually do the work, not just the firm.
- Sample approval, signed and dated, before production begins.
- Access arrangements, working hours, power, water and dust control.
- Insurance and responsibility for protecting finished work.
- Variations confirmed in writing — this is where goodwill usually goes.
- A small retention held until snagging is complete.
The order of works
- Structure and roof first, so water is out of the building.
- Services first-fix, with routes agreed and heating commissioned gently.
- Joinery installed, then protected with boards rather than tape.
- Lime plaster, allowed to dry slowly, with no forced heat.
- Breathable finishes: limewash, distemper, wax.
- Tapestry hung last, once dust has settled and the heating has been through a winter.
Before the scaffold comes down
Sit in the room at three different times of day and note where the light falls, where draughts move, and which surfaces will be touched. Agree one point of contact with each maker and write down what "finished" means before work starts, because it means different things to a plasterer and a client. Keep a folder of samples, photographs and correspondence; if you ever sell, it is the best evidence of care you can hand over.
And resist the urge to fill every empty panel in one season. A manor interior improves when each intervention is allowed to settle, be looked at, and be judged against the room rather than the plan. For listed buildings, significant textiles or anything with insurance implications, bring in a conservation-accredited professional early — the fee is small next to the cost of undoing the wrong work.
Photo: Pexels / Pixabay